Hello all I’m soooooooo excited to be blog-swapping here today at Somewhat Simple! I’ve wanted to do this for awhile, but too chicken. So, a HUGE thank you to Stephanie for letting me bore you all to death today! (Hopefully, you won’t hold it against her :)
I’ll start by introducing myself……..My name is Emily and I write a crafting blog called: Not So Idle Hands.
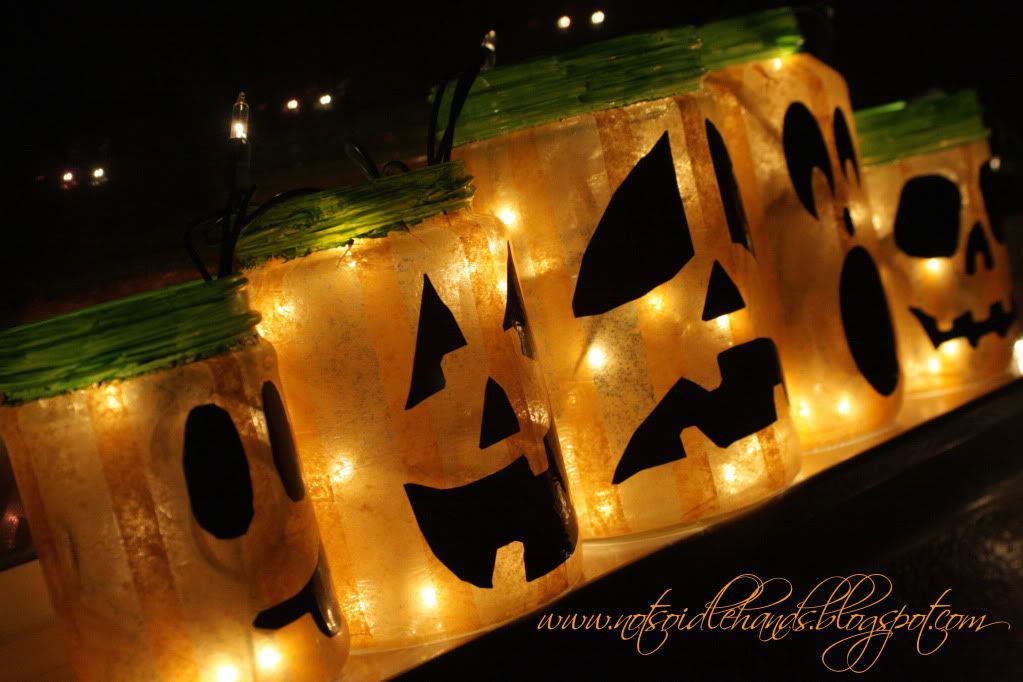
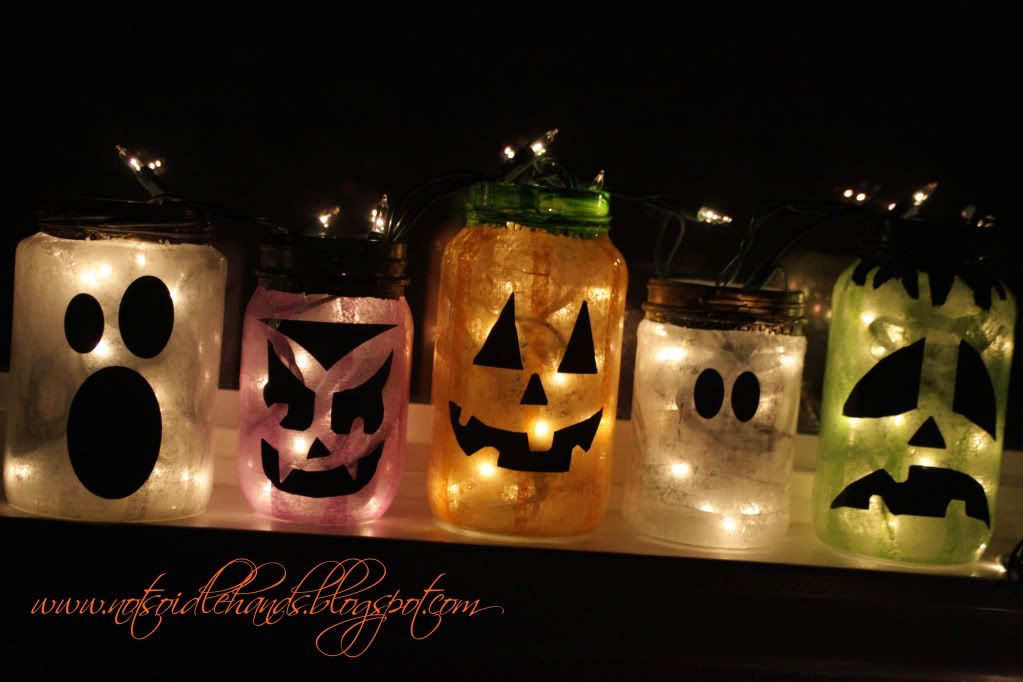
Since you (maybe) have'nt seen it before.....I'll do my tute for "Glowing Jack O'Lanterns/Monsters"
Here goes:
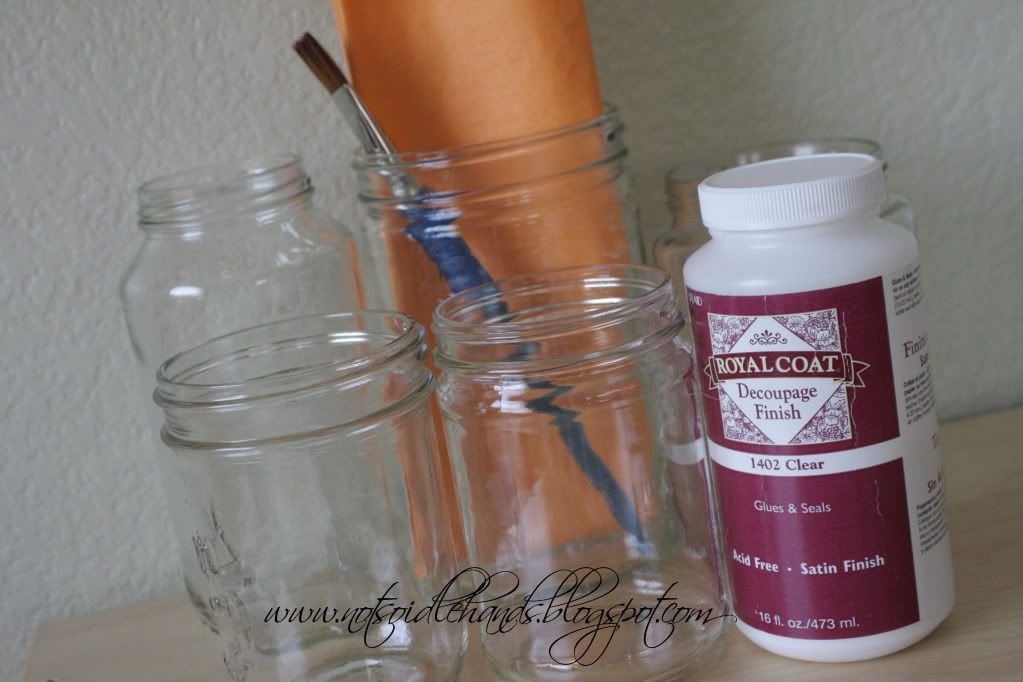
You will need:
5 glass jars of varying sizes (I think the varying sizes make it more interesting)
Some orange, green, purple, & white tissue paper (If you are anything like me.....you save tissue paper from EVERY gift you get but,.......NOT ORANGE! But luckily this was only $1 buck at Walmart)
Mod podge (Yes, I've had that bottle awhile.....no matter how much I use it, it never runs out!)
Black paper
Green, grey, & black paint
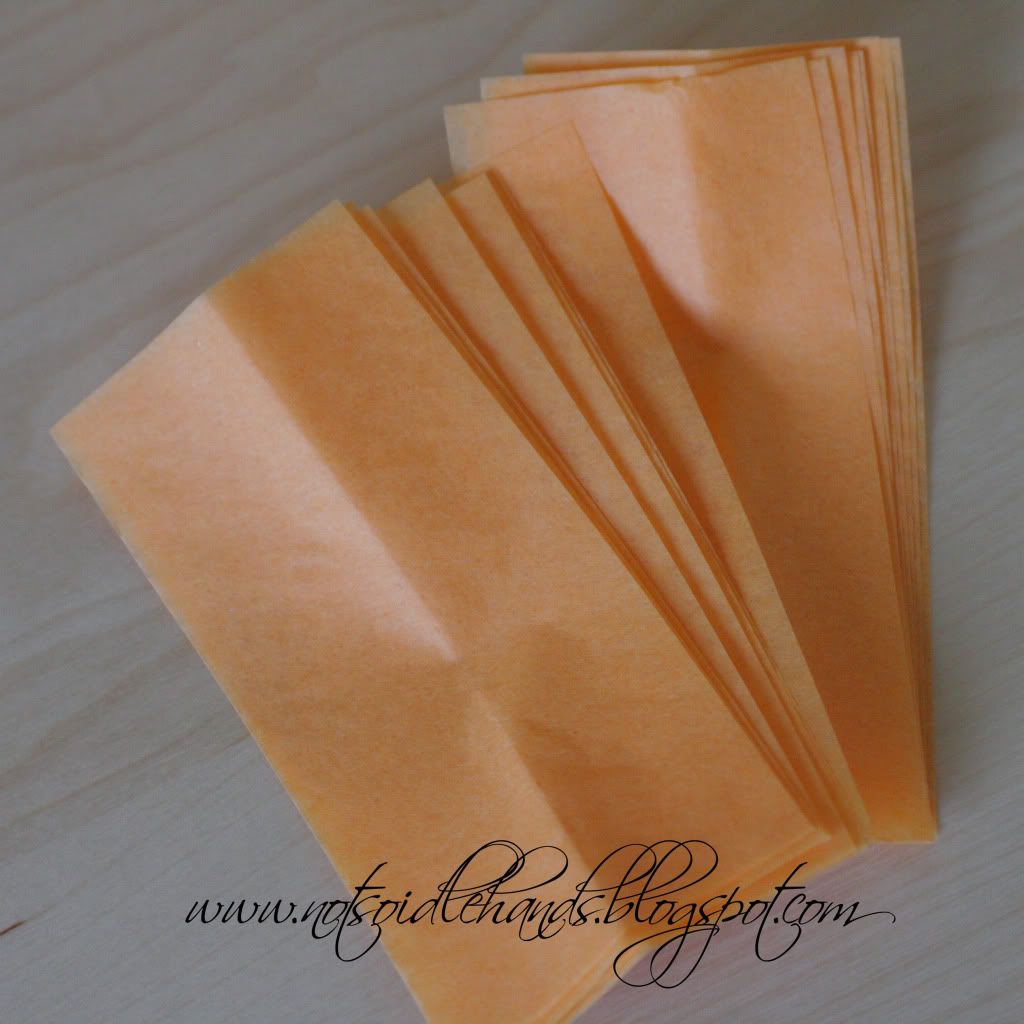 Start by cutting the tissue paper into strips about 1.5 - 2 inches wide. Measure the height of your jars and cut the tissue paper strips to that size.
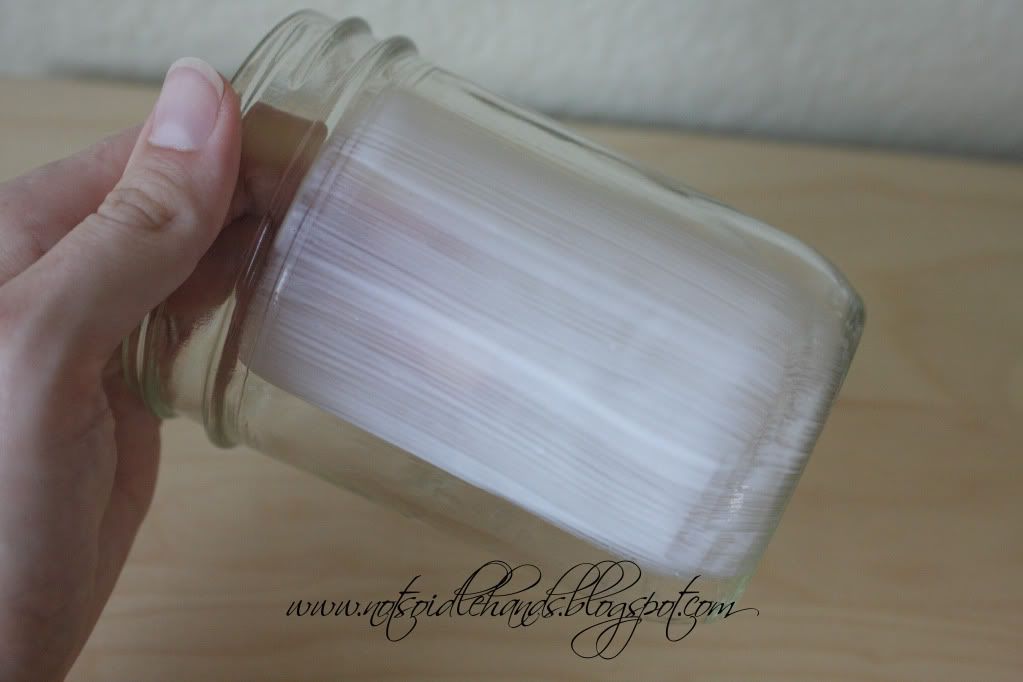
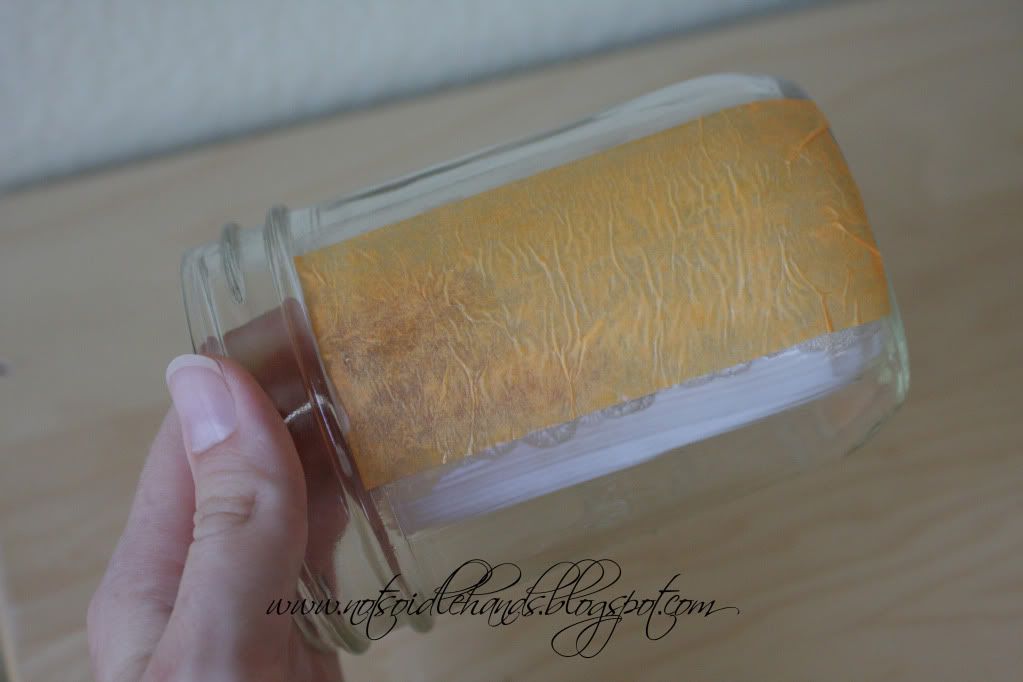
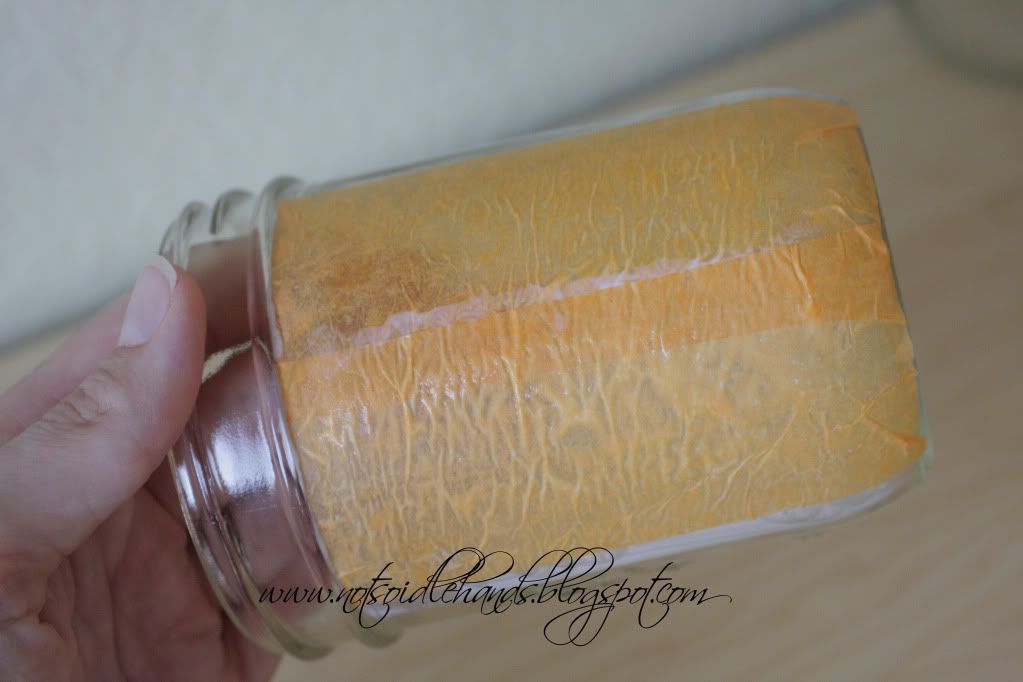
Paint Mod Podge, a section at a time, onto the outside of the jar. lay down a strip of paper and smooth it down well. Then, move onto the next section. Don't worry if it's a little wrinkly, it doesn't show once it's dry.
I loved the way she overlapped the strips of paper to make it look more pumpkin-y (is that a word?)
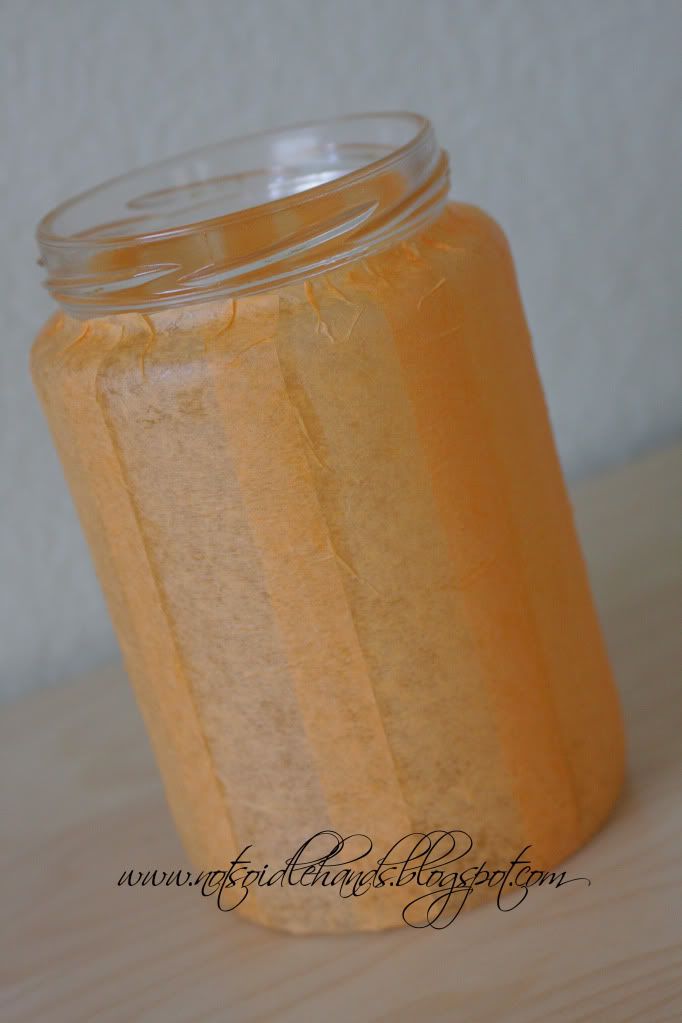 Keep going till you get the jar covered. Then, work on cutting out the faces for them. You can click here and here to download a template of the faces I used on the pumpkins or here for the monsters and size them according to the sizes of your jars.
 Keep going till you get the jar covered. Then, work on cutting out the faces for them. You can click here and here to download a template of the faces I used on the pumpkins or here for the monsters and size them according to the sizes of your jars.
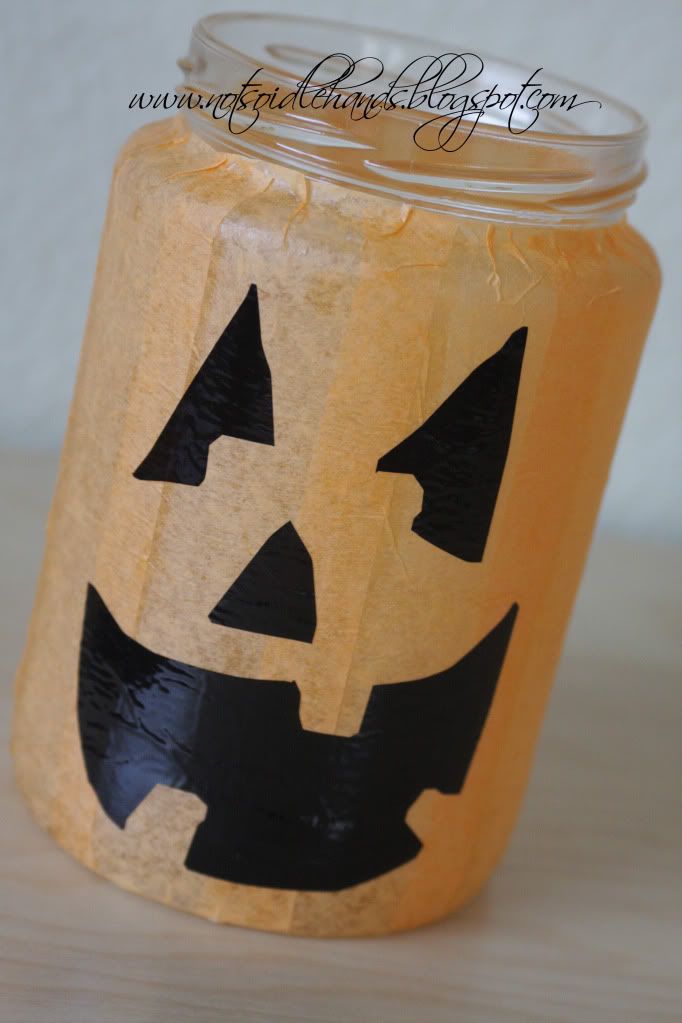
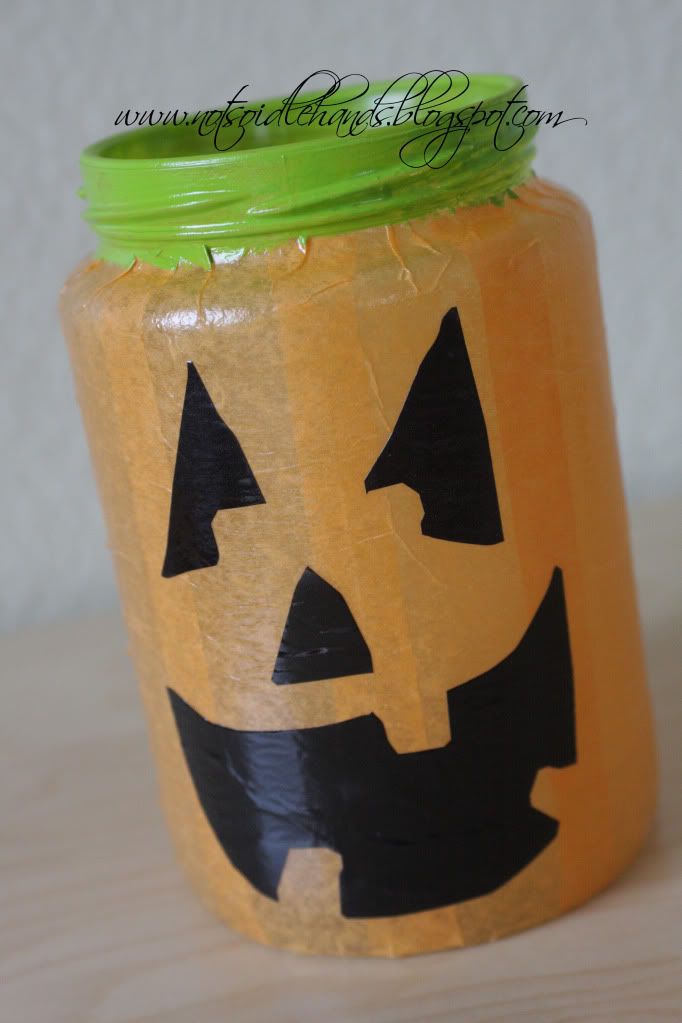 Glue the faces on and paint the tops with some pretty green paint and then brush on a coat or 2 of Mod Podge (I used glossy so it looks shiny like it's part of the jar :)
I ended up having to use vinyl for the faces since i didn't have any black paper on hand and I didn't feel like running out just to get paper.
Let them cure for 24 hours and.....
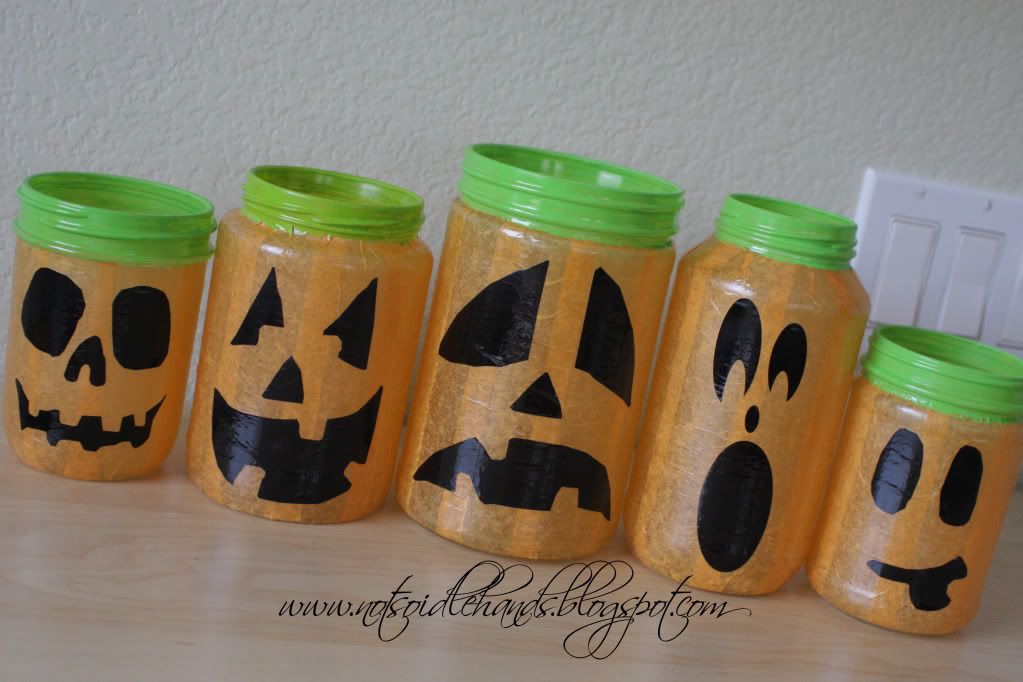 (in my office)
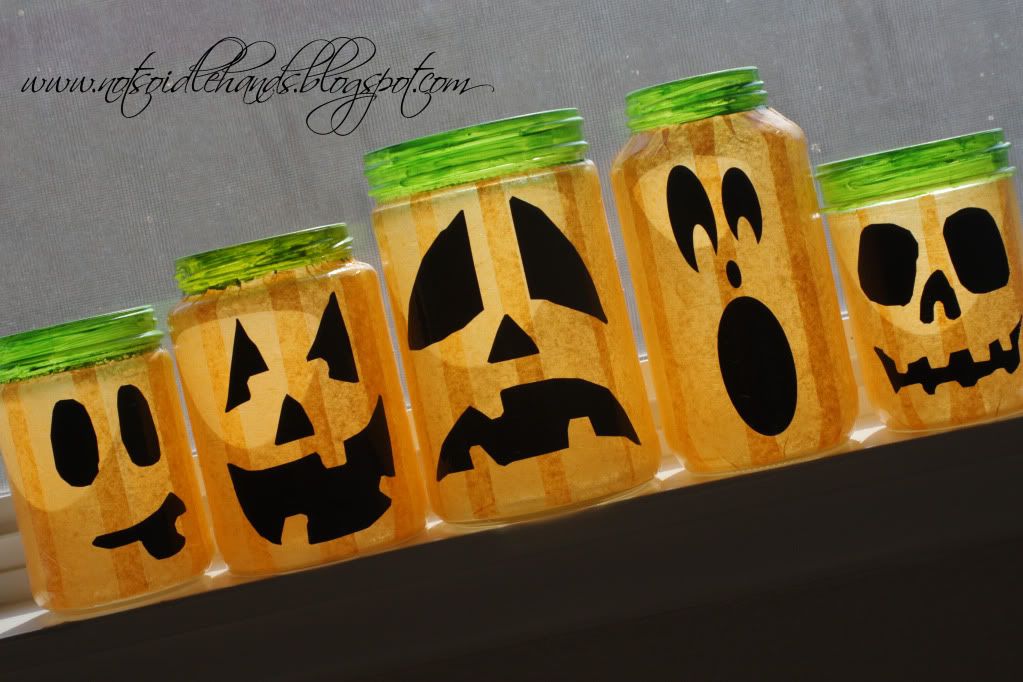
(in the sun)
Ta Da!
So Cute!! My girls are LOVING these!!
They were easy to make, AND your older kiddos can help do them. I'm thinking about using some baby food jars and letting my girls make some tiny ones to show in their room.
You can even use candles or those neat (fake) tealights in these for a fun effect :)
Thanks so much for putting up with me today.....it was SO fun test-driving someone else's blog today.
Have Fun!


Emily!!! So fun to find you over here! Your blog never disappoints!
ReplyDeleteGreat ideas! Off to check out your blog.
ReplyDeletepk @ Room Remix
How cute is that!! I'm totally going to be making those with my girls tomorrow. I just uncovered FOUR... that's right FOUR containers of mod podge. Need to get 'em gone!! Thanks for the inspiration!!
ReplyDeleteThat was a great post. Thanks for sharing how to make the pumpkins. That would be a great project to do with my grandchildren.
ReplyDeleteSooo cute Emily!! What a fun idea to blogswap! I'm going to have the kids make the cereal box bags that were on your blog and have them start lugging their own stuff around! :)
ReplyDeleteI love the Halloween decor!!! What a fun idea!
ReplyDelete