I am so excited to be Guest Blogging here today! When Stephanie emailed me and asked if I'd Guest Blog, I think I may have squealed out loud. Maybe. Just a little (a lot).
Today I want to share how to create Phone Pop Art Wall Art.

My sister is turning 10, and I wanted to make her something for her room that is quickly evolving into a Tween room! Here she is a few months ago...

I posted on my blog how I totally scored at Goodwill last week. One of the things I found was this vinyl for only $.99!

I knew I wanted to use this phone vinyl for my sisters room because she is getting to the age where she wants to talk on the phone all day and spend hours with her friends.
Then, as luck would have it, I found this wooden kitchen cabinet door on the side of the road!

I primed the door and then gave it two coats of hot pink paint.
I bought this paint last year because I was going to paint my daughters closet with it, but I'm so glad I didn't because it is REALLY PINK! But I think it looks great for her pop art!

The pink is from Sherwin Williams and is called Dragon Fruit. If you live near Austin Texas don't buy any. I've got TWO FULL GALLONS and I'll give you some! ;)
Like I said, this project evolved as I went along. After I was done painting the door, I got a wild hair to just sand it down and give it a rustic look.

I love it sanded, but it still needs something besides just the vinyl. Then it hit me. My mom just bought bedding for my sister's room that is pink and white and black & white zebra stripes! I just happened to have zebra ribbon, so I decided to Mod Podge some onto the door.Then I waited for it to dry.

I love the zebra ribbon. I think it adds just enough additional texture.

I love that the white primer shows through where I sanded it. It gives it just enough additional white and works well with the ribbon.

Now it's time to add the vinyl. Be very careful and precise when adding vinyl because you only get one shot!

LOVE.


It's still missing *something* though. Finally it hit me. It would look great if it was hanging from a ribbon on the wall!
I grabbed a few different ribbons and tested them out to see which one I liked the best. Definitely the zebra with the pink behind it!

I was going to staple the ribbon on the back, but then I had the idea to actually pull it through to the front and tie knots.
I measured and marked where to drill my holes...

Grabbed my drill and the biggest drill bit I own and drilled a hole on either side of the art. I had to wrap my ribbon really tightly to get it through the hole, but after not too much effort I was able to pull it through.

Then I just tied it in a knot!

From there I just eye-balled how much ribbon I needed and then cut it and threaded it through the other hole.

Now it's *almost* finished...

I'm totally diggin' it!
The back of the door had large holes pre-drilled when I picked it up off the road. I got two picture hangers and hammered them backward into the hole. Now when I hang it on the wall it will sit completely flush to the wall!

My sister's birthday isn't for another week, so I tested the art out on my wall to make sure it looks good. Next week I'll install it in her room and do a follow-up post.
I hung it on my wall using the picture hangers I just installed on the back of it. Then I added a 3rd nail above the picture and slipped a drawer pull over the nail head. This is purely decorative. All the weight is supported by the nails on the back of the art.

From there, just slip the ribbon over the decorative knob and you are done. Well, almost done. :)


The final step was to trim the raw edges of the ribbon. I use a match to seal the edge to keep it from fraying. If you use a flame, you must sweep it over the edge very quickly. The ribbon melts quickly.


Now it's done.
I can't wait to see it in my sister's room. It's going to look so great with her new bedding!


If you want to see the follow-up post about it next week, bookmark my blog, House of Hepworths and keep an eye out for the new post! You can also subscribe to my blog by simply clicking HERE!

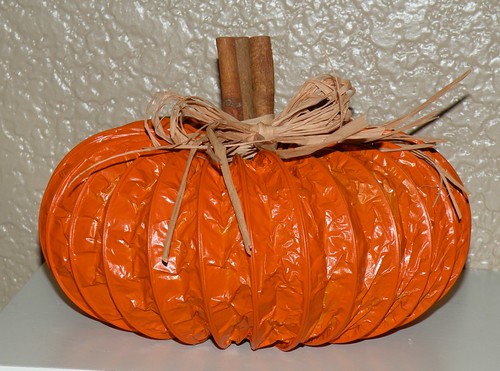
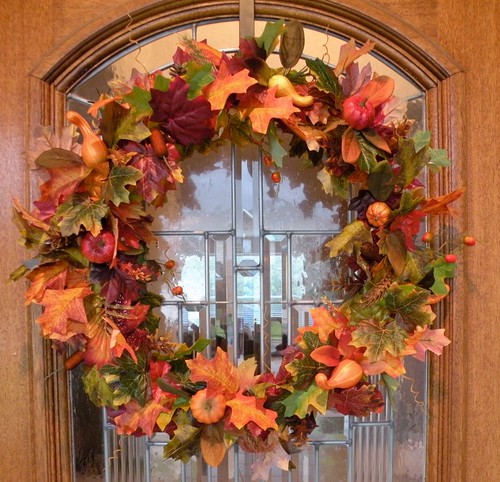
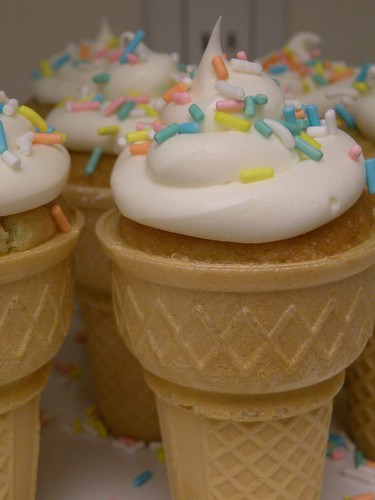
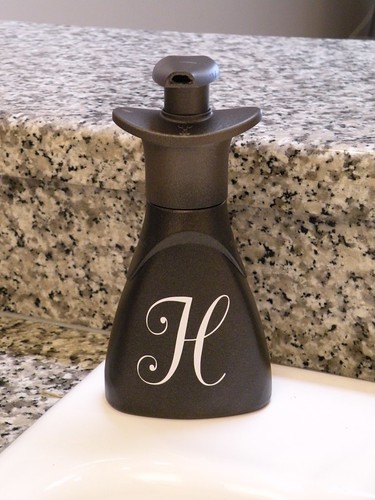
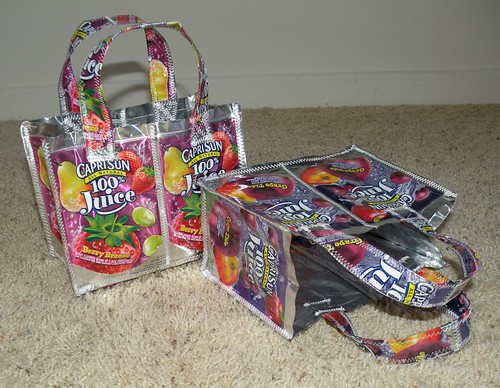
In addition to my Phone Pop Art Wall Art, here are a few other things I've created lately.
(For full tutorials click on the image.)
I'd love for you to come visit me at House of Hepworths!

Organizing & decorating one thrifty DIY @ a time!
•••
Thanks for that fun tutorial Allison! Come back anytime!
To have your ideas featured on somewhat simple, click HERE
Awesome, Allison! I just saw these decals at my GW yesterday. I just wasn't sure what they'd actually look like. Fingers crossed that they are still there when I go back today.
ReplyDelete~ The Speckled Dog
Thanks for letting me Guest Blog today!!!
ReplyDelete~Allison @ House of Hepworths
Fun and easy idea for decorating a teens room.
ReplyDeleteDebbie
I love the doubled-up ribbon! Fabulous!
ReplyDeletelooks very cute! Lets see pix when its in her room!
ReplyDeleteGreat tutorial!! Love the pink painted door!! Looks great!
ReplyDeleteHugs
SueAnn
Great tutorial!! Love the pink painted door!! Looks great!
ReplyDeleteHugs
SueAnn
That is very cute and fun! Love the hot pink-
ReplyDeletesandy toe